
Hello, all. I suppose that all of you know what Google Earth is about, and probably had already a look to a view of Disneyland “from the sky”. Well, it’s time to go back on the Google Earth web page and discover the new Google Earth 4.2 program, because , as you will see it is amazing.
To make it easy for you, i’m going to do a step-by-step with plenty of screen captured images, and don’t go away, because it is easy to do - and Google Earth is totally free!
In fact, at the end you will be able to “soar” over california - or disney world - or any place in the world without moving from your chair! You will also find at the end of the article youtube links for two videos that i did for you that will show you in real what i explain below. Can’t do more than that, can’t i ?
Okay, here we go, and please double-click on each image to have them in bigger size - you will have a better view, and , most of all, a better understanding of what i explain.
So, the first thing that you have to do is to go to : http://earth.google.com/
and to download the new 4.2 program by clicking on the green space up right where it is written “download google earth “

Once it is done, go to : http://earth.google.com/3d.html
and click on the blue link “3D Warehouse network link” that you will find on the first line under the screen image.

Once both of them are downloaded , double-click on both of them ( the google earth 4.2 program first ) and then this must appear

on the left there is a space to type the destination where you want to go, and type as keyword: “disneyland” - you don’t even have to type “california” or “anaheim” , “disneyland” will be enough - in case it’s not, of course type “anaheim”.

google earth will move to california , then zoom to disneyland ( the move/zoom is always amazing, by the way ) and you will arrive more or less to that image below.
may be you will have to “re-center “ the park in the screen, what you can do easily by putting your mouse on the image. A little hand appear , click and hold, and move the image in any direction you want to center the image so you’ll get the view below.

now, this is the view that you could have easily before with the previous versions of the google earth program, a totally vertical view. of course you can zoom in the image to come closer to the magic kingdom, but it would have stay always a vertical view.
This is where it begin to become interesting, because, thanks to the google earth 4.2 you’re going to be able to move the image more “horizontally” .
On the top right of the image you should have this ( see picture below )

what looks like a circle will allow you to turn the view 360 degrees . the vertical bar on the right is to zoom up or down , but the horizontal bar on the top will allow you to move the image in a horizontal way by moving the cursor that is on the center to the right. now, don’t swing the image too much horizontally, just do it on an angle of 30 or 45 degrees, and your vertical view that you had above will become this

As you can see, you begin to have more perpective . The image will be less sharp than when it was totally vertical, but that’s how it goes. You can now begin to zoom in the image. Now, it’s possible to add to the image some great 3D recreation of some Disneyland buildings! Here is how, and once again, it’s incredibly easy! If you have open the two program you’ve downloaded before, you will notice that small “blue house” icons will appear sometime on the image. double click on any of them , and a window like this one will open

Choose the 3D building you want to add to the sky-view image and click on “ download to google earth 4 “ . If, just like me you’ve chosen to download the 3D castle and the house of the future , this is what you will get

or this with the castle only

now, swing your image more horizontally , and zoom on the house of the future , view from the entrance of tomorrowland ( turn the circle bar on the top left to get the right angle )

zoom again to get even closer ...

and again....until you actually get INSIDE of the house of the future ! the furniture have not been 3D recreated, but it’s okay.

go always forward inside and you will even see through the windows the 3D Disneyland castle behind ! Amazing, isn’t it?

you can go around the park view and find these little blue house icons to add more 3D building , like the haunted mansion one

Mind you, google earth is also useful to locate what space could be available to built new attractions in the future, like on this view of the whole resort where i’m ready to bet that the parking lot in the front of the picture will disappear in some years to make room for a new california adventure land ( or whatever it will be called then )

We will come back to disneyland later, but let’s have a look to WDW ( just type “disney world” as key word destination) . There, too, you can add 3D buildings and even a part of mainstreet !


Or a kind of orbitron and space mountain , too

At Epcot, you can of course add a 3D spaceship earth


You will have also a great view of the outside loop of test track

or the world showcase and futureworld all together

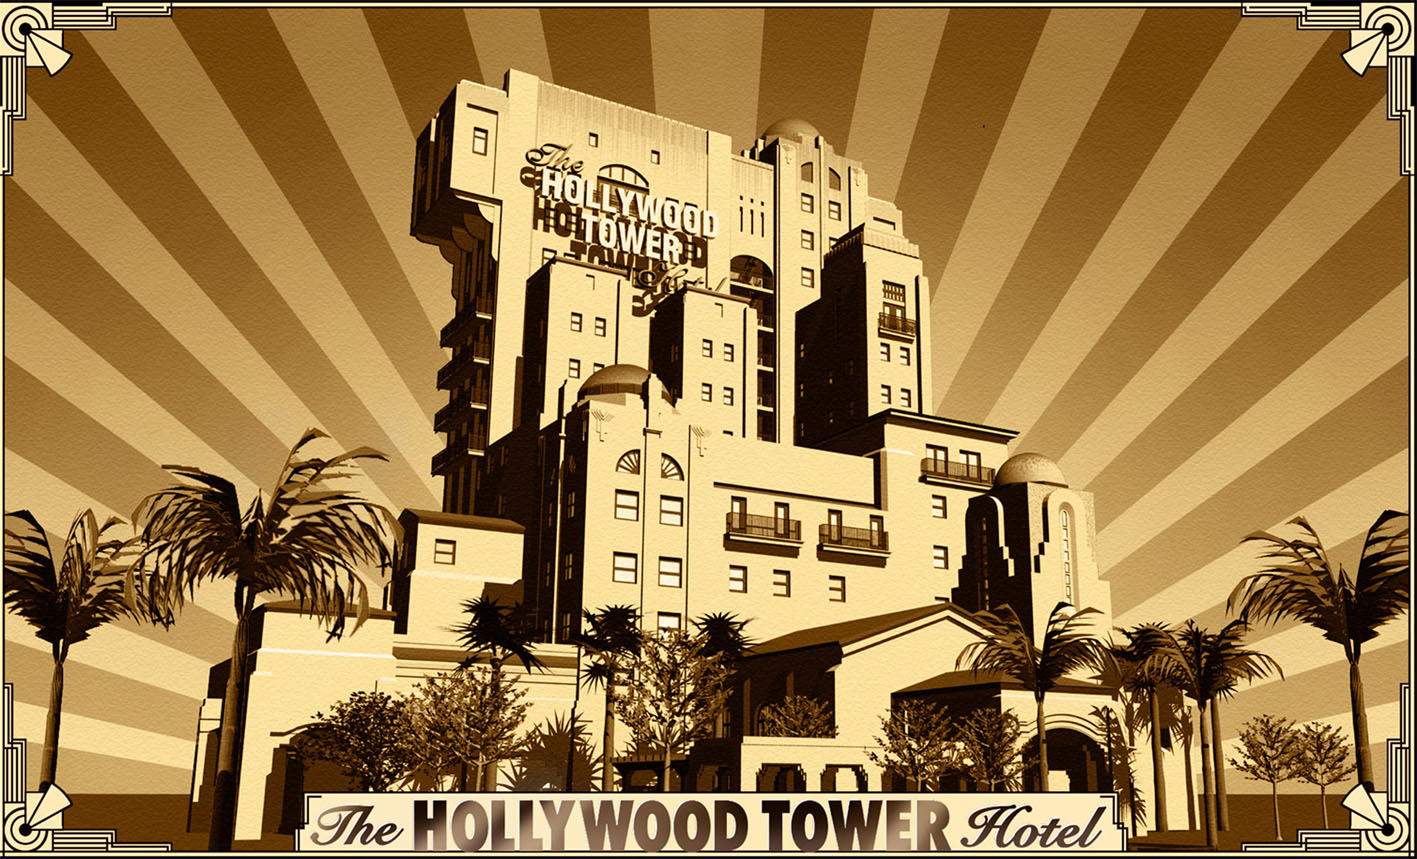
At disney mgm you can download and add a 3D tower of terror among others

let’s go around the world now, to disneyland paris ( type: “chessy, france” ) where a space mountain or a phantom manor are 3D recreated


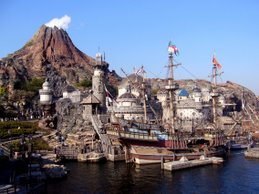
And what about tokyo disneyland? i didn’t find 3D buildings to download, but you’ll have great view of both parks - tokyo disney sea is here on the left , near the sea !

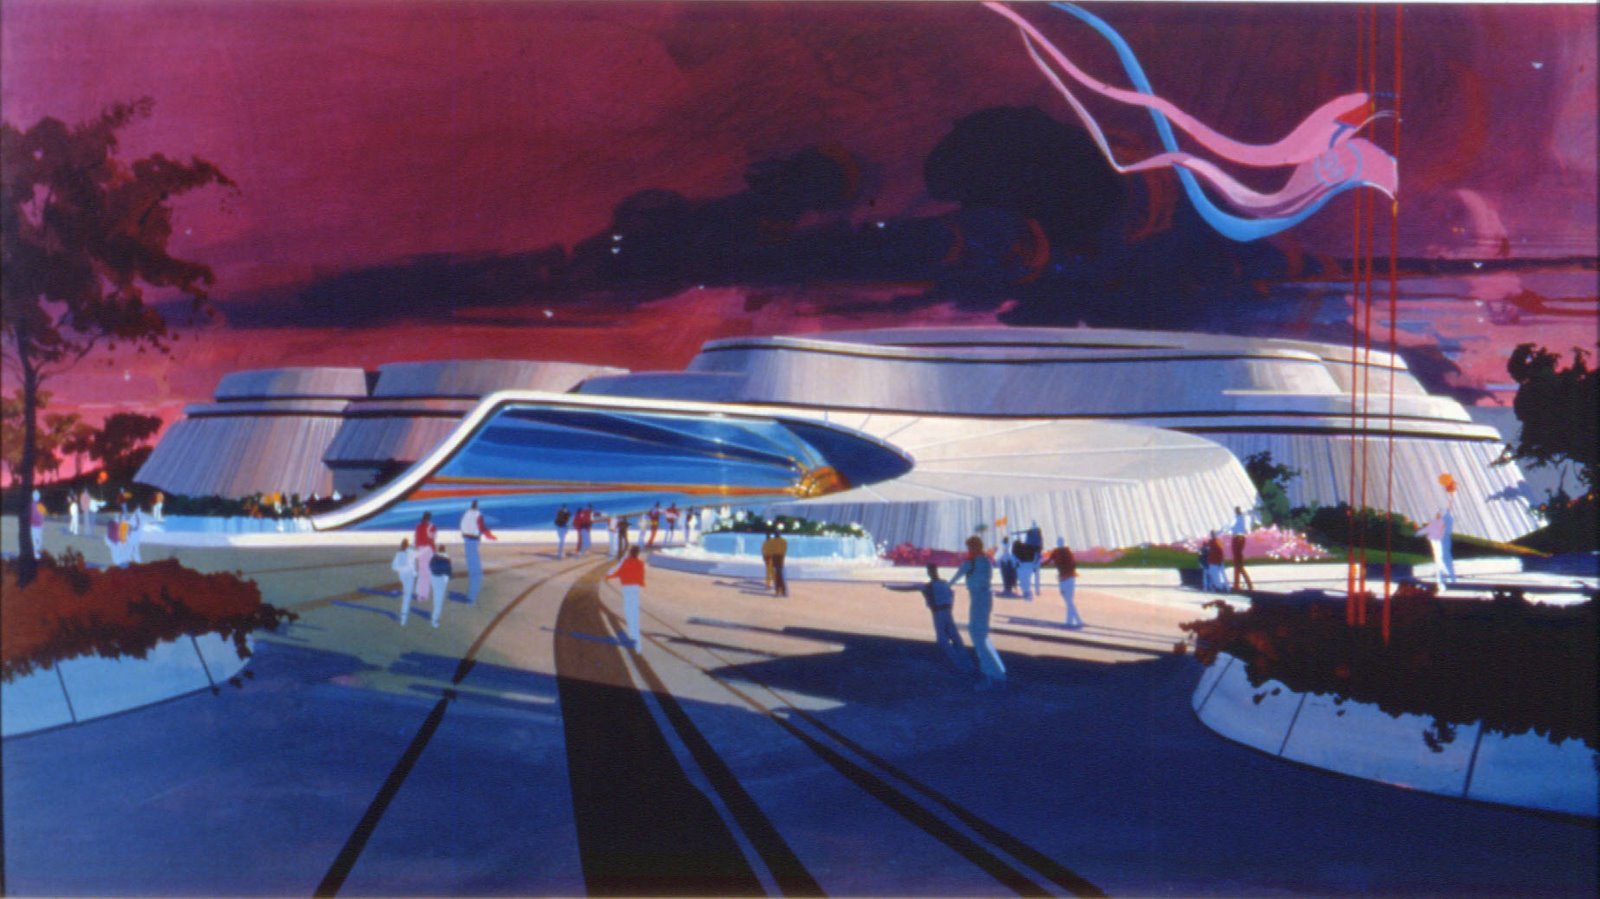
It is fun also to compare this view of TDS ( the image has been swing on 30 degree angle )

...with the original rendering of the park

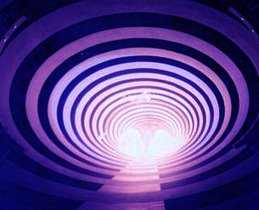
you can also have a closer look in the lagoon of captain nemo’s mysterious island

You will notice that when you swing more horizontally the picture, the building still look more flat than they are in reality, which is logic as we must not forget that it is a 2D picture shot from the sky at the origin.
However if you want you can add the 3D building function ( choose it in the "infos " box at the bottom right ) and you will see this to have an idea of the volume proportions - note that "tower of terror " was not built yet when this picture was shot

Of course, the same principle of 3D buildings are available to download in other locations than disney theme parks , like here with the famous Griffith observatory on the hills of los angeles

or you can re-create the whole las vegas strip by adding one by one all the hotels and casinos !


But let’s go back to disneyland, as the most amazing is yet to come ( yes! ). Last week, google have added “google sky” to the google earth program. what the hell is it? Well it will allow you to have a view of the sky above the location where you are , let’s say disneyland. So, double-click on the little icon on the topbar of the google earth window - the one at the top right of all the icons with a planet logo, just on the right of the icon that looks like an open book , or the the third on the right after the icon that looks like an enveloppe. Wait, and watch what happens - the previous view will be reversed and instead to zoom from the sky to disneyland , you will have a view of the sky constellation,s that are actually above disneyland ( sorry, on the picture below the constellations name are in french as i am in france )

And now, let’s go the universe and beyond, as the new “google sky” allows you to “zoom” inside the universe until you reach galaxies millions light years away and above disneyland, like this one below. Can you believe that? Zooming from your home computer inside the universe and travel through it? Amazing!

I let you travel through galaxies and once you’ll be over, come cack on earth above disneyland, as there is more amazing things to do!
Try to comeback to this view we had at the beginning ( swing the image to have the same angle )

Now, as you have noticed, when you put your mouse on the image a little white hand appear ( that’s your mouse ). Click and hold on your mouse to “hold the image “( just like when you want to move it left or right ) and do a gentle move, just like if you wanted to “launch” the image, for instance in direction of the bottom of the screen . The california ground will begin to move and you will “soar” over disneyland and all california. You don’t have to “launch” the image twice, once you’ve done it, it will not stop until you do something else on the screen, you can “soar” around the earth like that, once you’ve launch the image , it won’t stop!. The trick is to don’t launch the image with a fast move, just do a gentle slow move, so the image don’t go too fast and you’ll be gliding like a bird over the california landscape and beyond !
It's not over yet, as the Google Earth program have an hidden Easter egg! Believe it or not, there's a flight simulator hidden in the program! It works with the realistic images of Google Earth, which give a great illusion. And you know what? Unlike the most popular flight simulator, it's totally free!
Here is how to find it: Type on the keyboard Ctrl+Alt+A (if you're running a Mac OS X it's Command+Option+A ) Some people have reported that on PC, Ctrl+A or Ctrl+Windows+A work when the standard Ctrl+Alt+A does not). Note that once you will have launch the flight simulator the first time, you will not need to do this again the next time, as you will find in "tools" menu the "open flight simulator" option.
The following window should pop up (shown below, the text in your version should be in English) and you can choose between two aircraft, an F16 or a small tour plane. If you already have a joystick you can also choose to use it.

You can lift off from any one of 30 different airports - the default is Kathmandu, but you can choose from many others.
Here is a view when you lift off from Los Angeles airport.

To know which keystrokes you must use to fly, use this link:
http://earth.google.com/intl/en/userguide/v4/flightsim/index.html
If you have a Mac, here's a page to know what keystrokes means what:
http://www.danrodney.com/mac/index.html
And now, as promised at the beginning, here are the two links where you can see the videos demo that i’ve filmed to help you : The first video will explain you how to move the image:
And the second one how to “launch” the image to soar over california - or anywhere else in the world you wish!
Have fun all around the world!
All photos : copyright Google Earth
Artwork : copyright Disney-Oriental Land co


2 comments:
Alain you have the greatest blog on our planet, you know that right :)! Thank you for this walk through, it's brilliant just like all the other content you continually post for us!
Thank you Kristina, it's very kind from you!
Post a Comment