Let's begin the week with something great! In this article you will learn how to create "Disney Planets" from any panoramic pictures you may have shot during your last visit at your favorite Disney theme park! And not only it's fun but also VERY easy to do!
You will find below the full tutorial but basically all what you need is: 1) a panoramic shot - whether it's a "one shot" panoramic done with the panoramic feature of your digital camera or a panoramic created through Photoshop with several shots put together - and 2) any Photoshop version - and you don't need the latest CS5 version, the first Photoshop CS will work perfectly. Before i show you some examples keep in mind that each of them were done in less than five minutes - and i mean really not more than five minutes including the time to launch the Photoshop program!
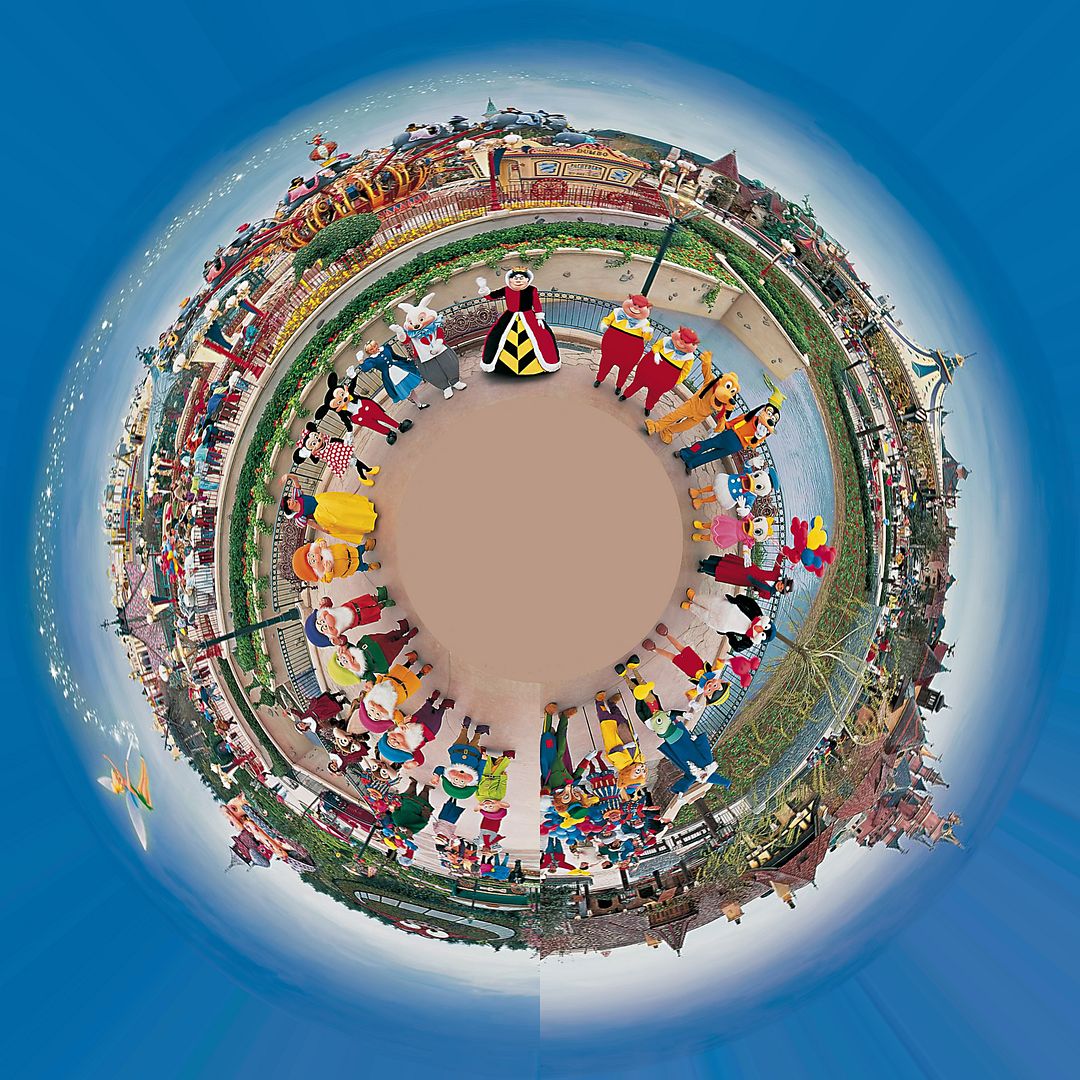
There we go. For each "planet" you'll see first the panoramic shot i've used to create them. The first "planet" above was done from this official DLP panoramic picture.

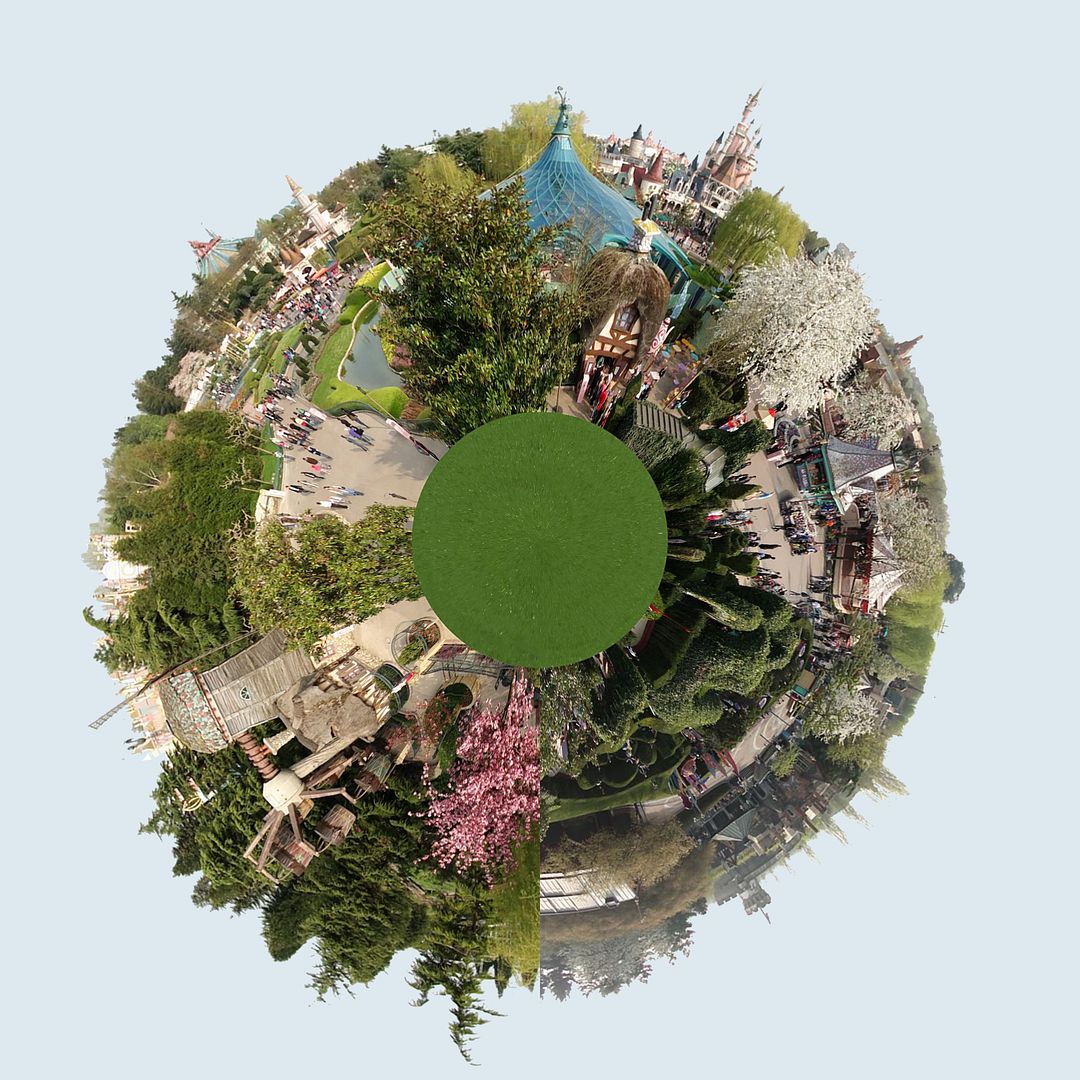
But this next one below was created from my own panoramic picture shot at DLP Fantasyland.

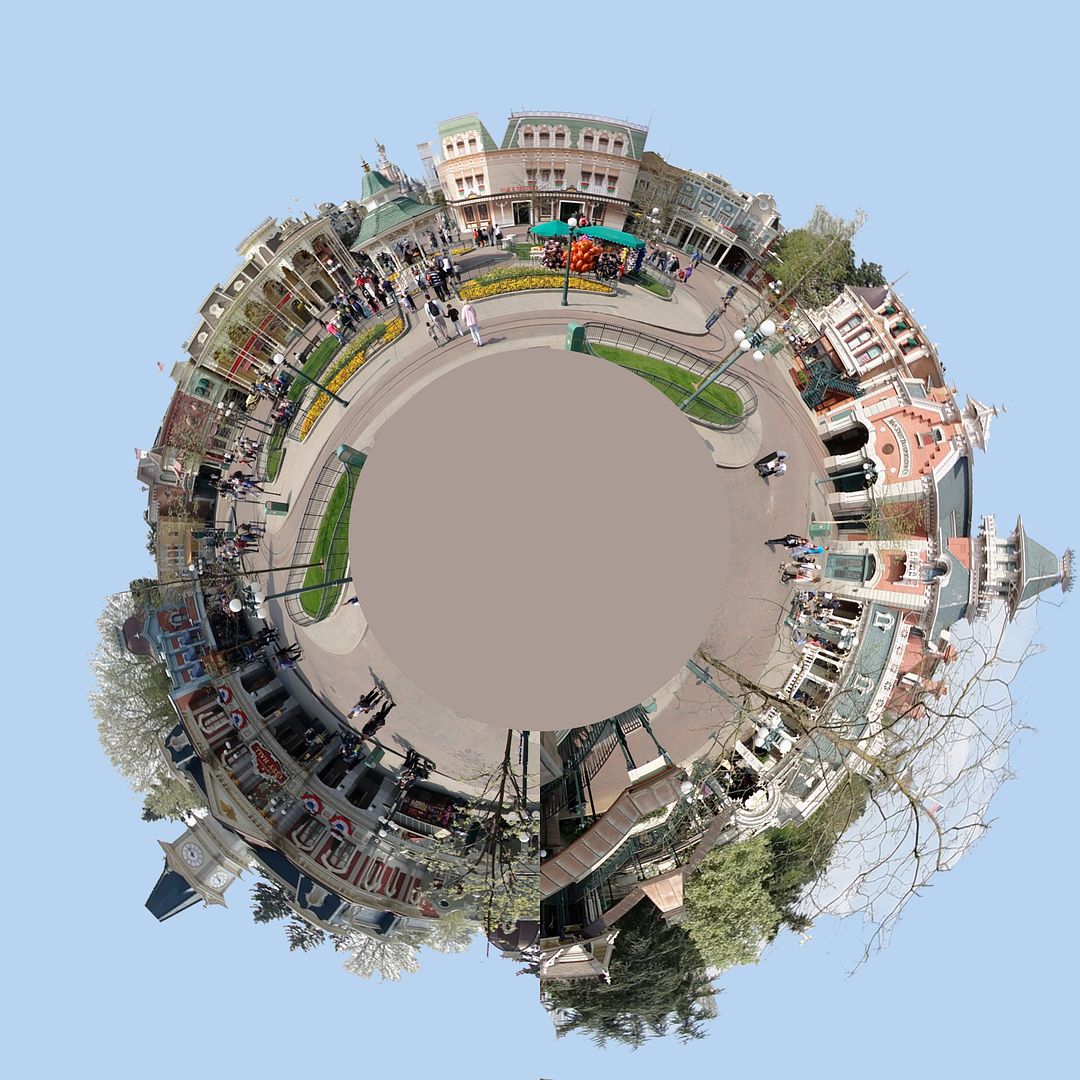
This next one was created from this Town Square panoramic shot...

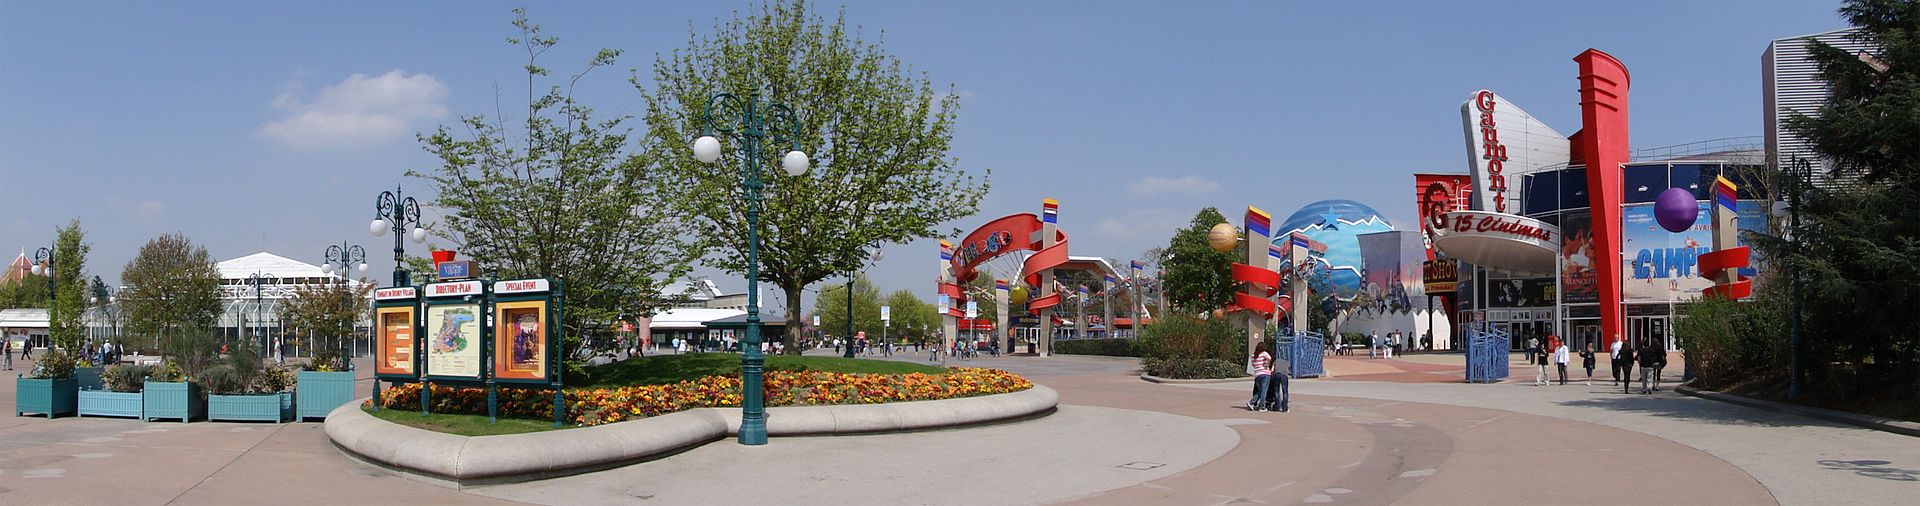
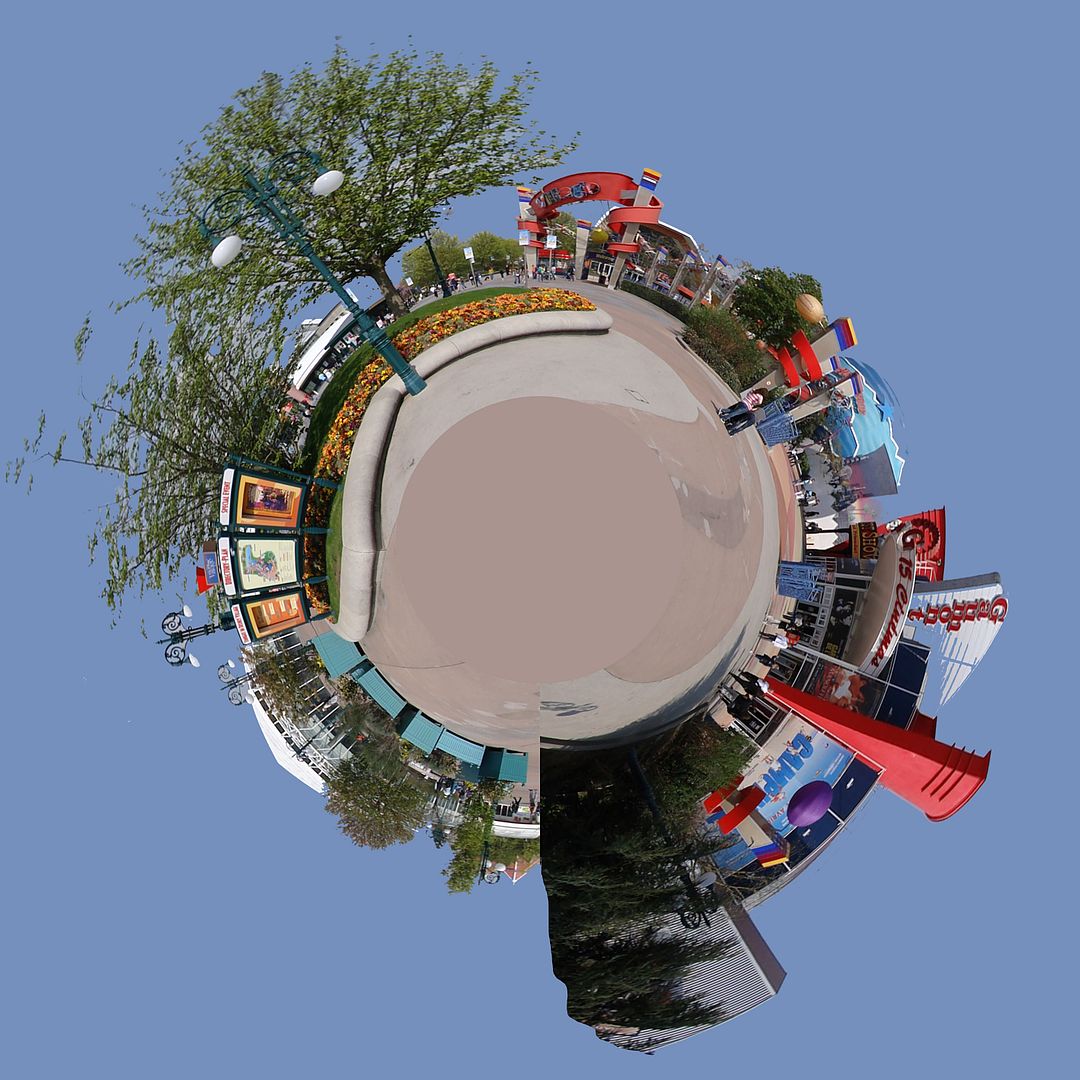
...and this one from a panoramic of the Disney Village entrance.
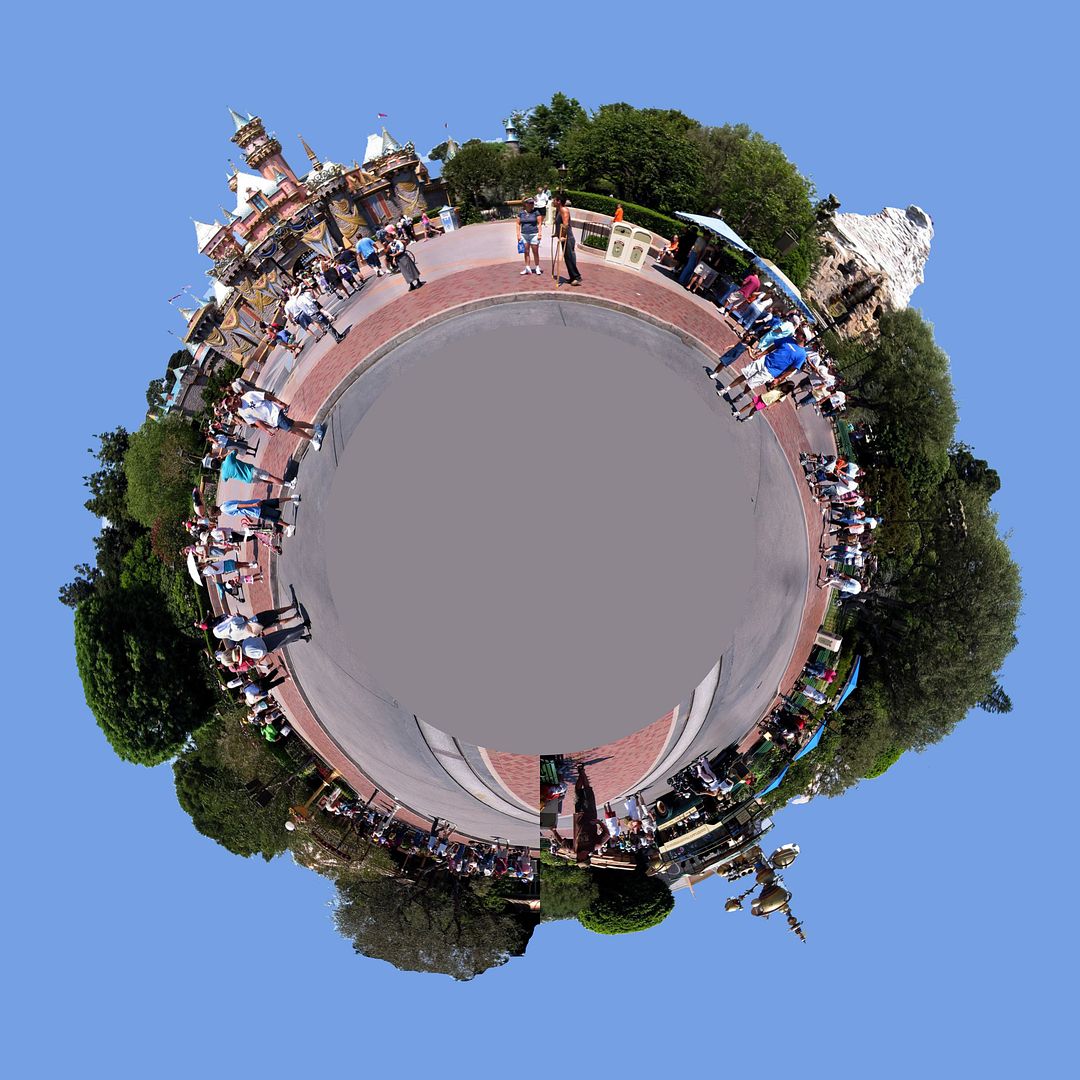
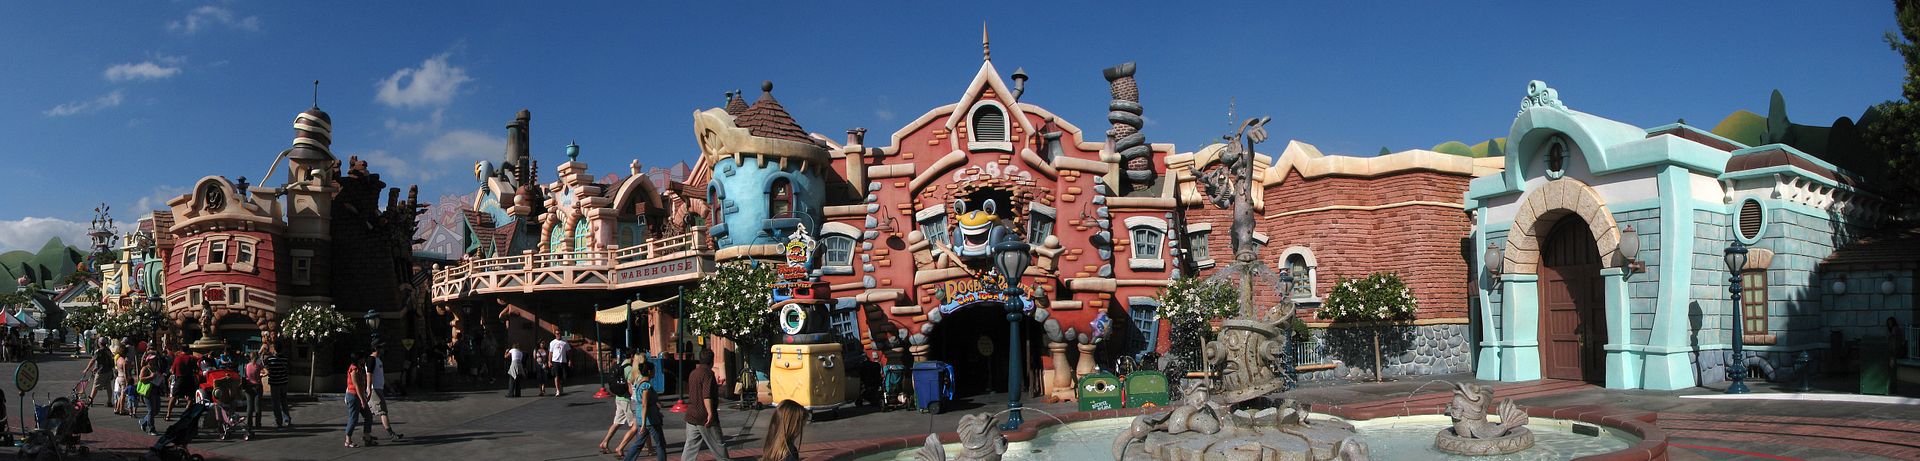
Of course you can try with panoramic pictures from any Disney theme park and the next pictures were not shot by me but by Bernie webmaster of the excellent disney.rocket9.net web site where you will find great panoramic shots as well as many desktop pictures. The first one below was done from a panoramic of Disneyland Central Plaza.

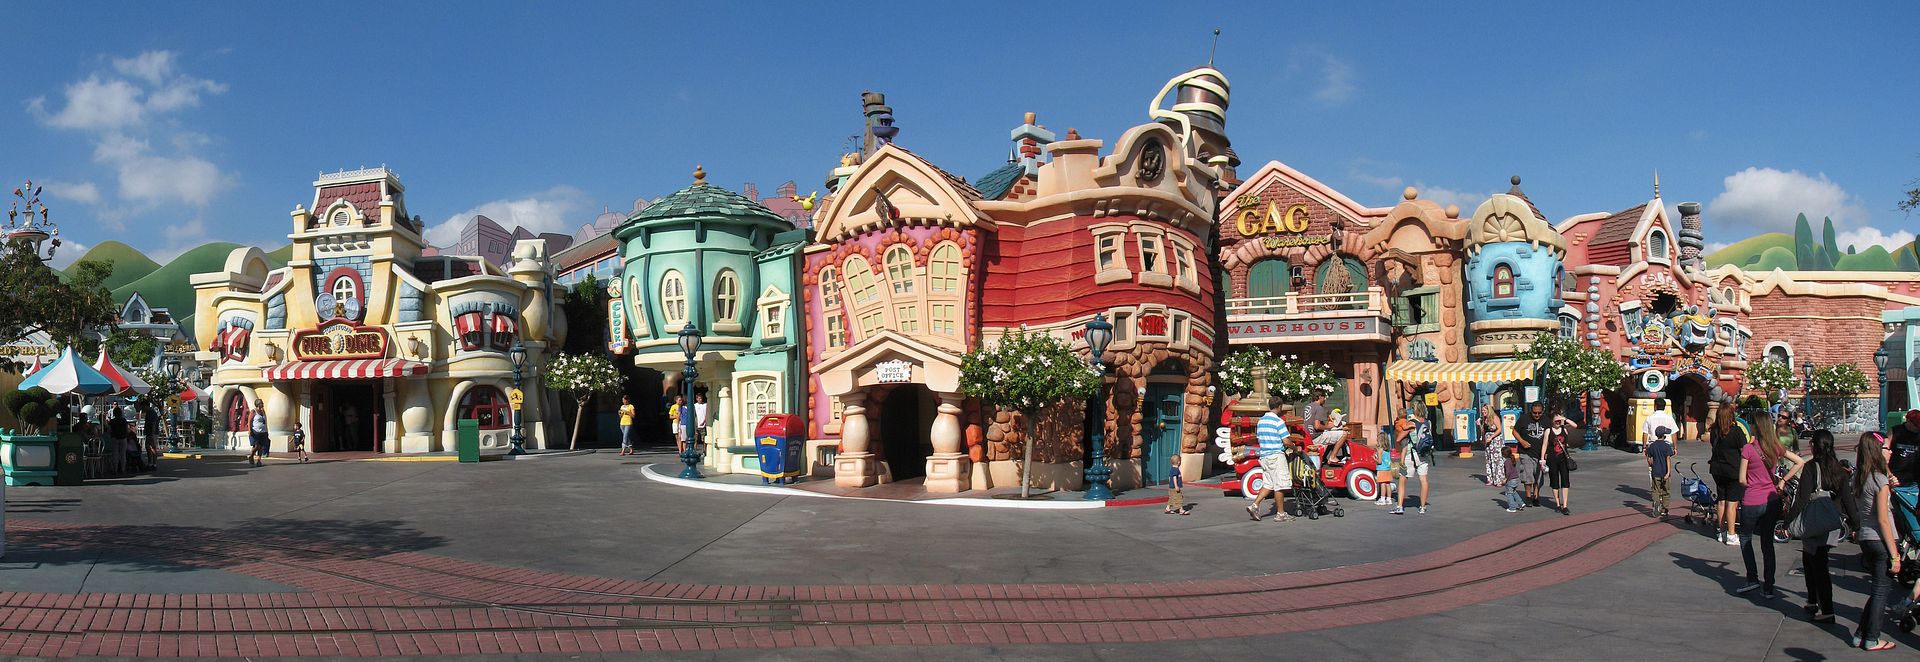
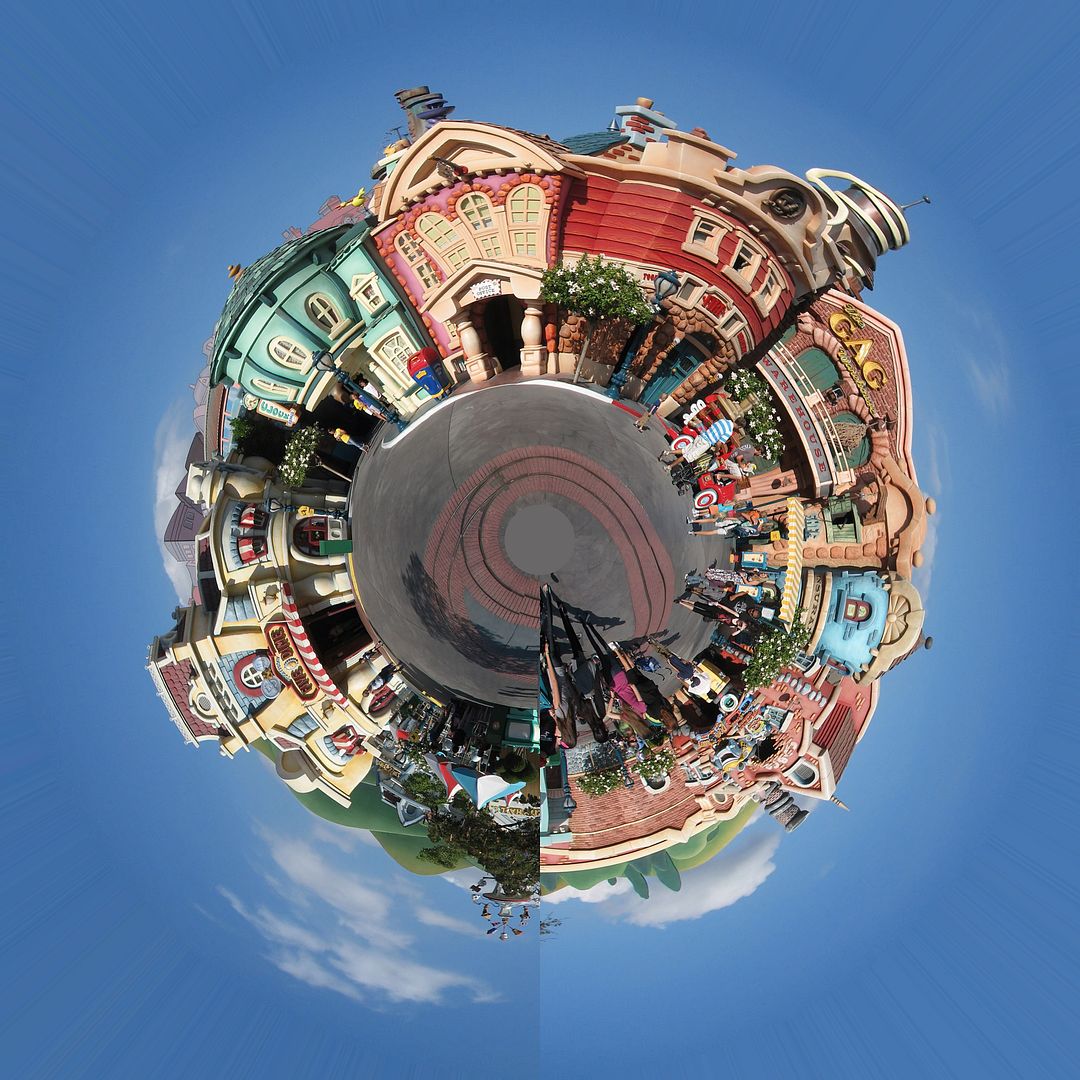
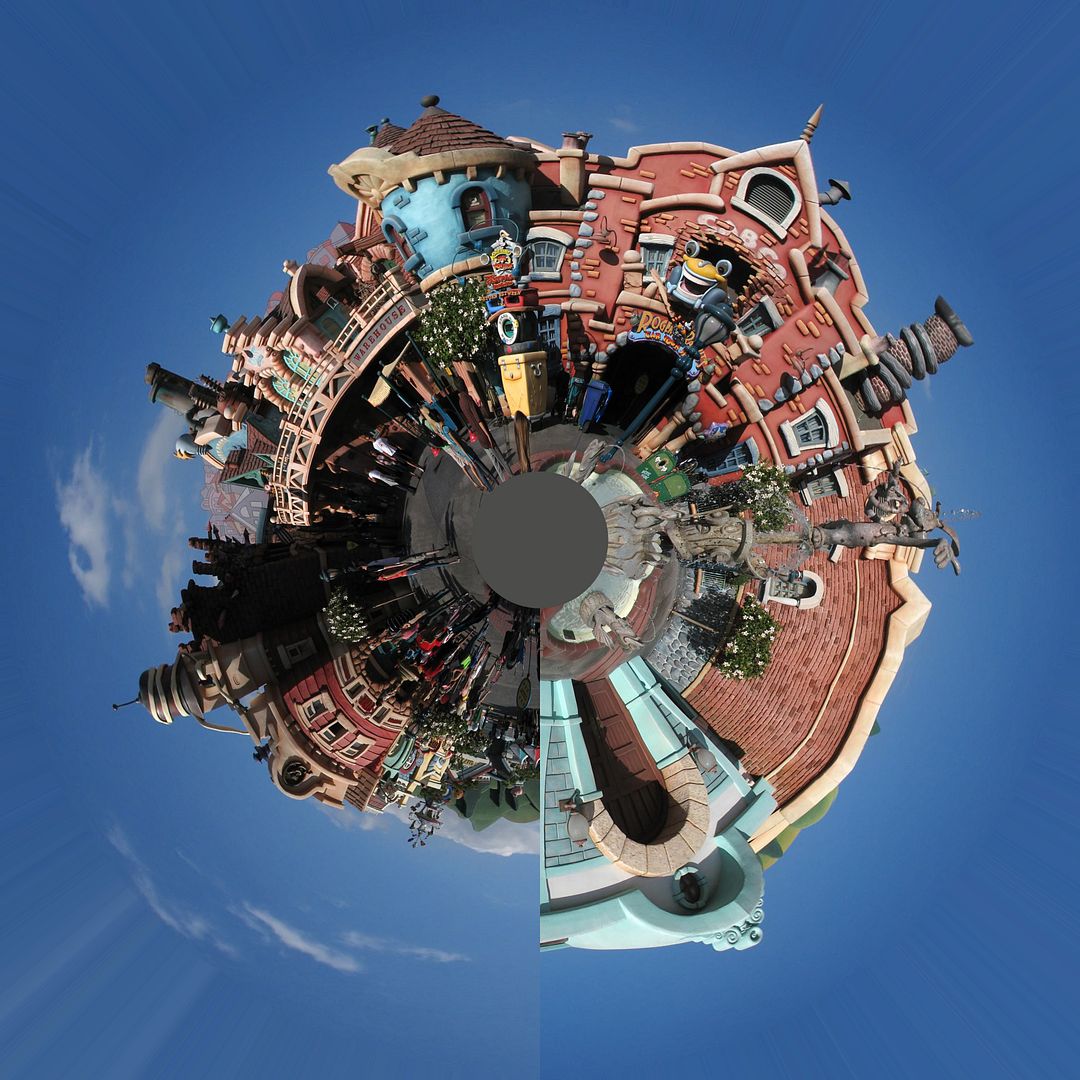
Always from Bernie's pictures here is two "planets" created from two Toon Town panoramic shots.
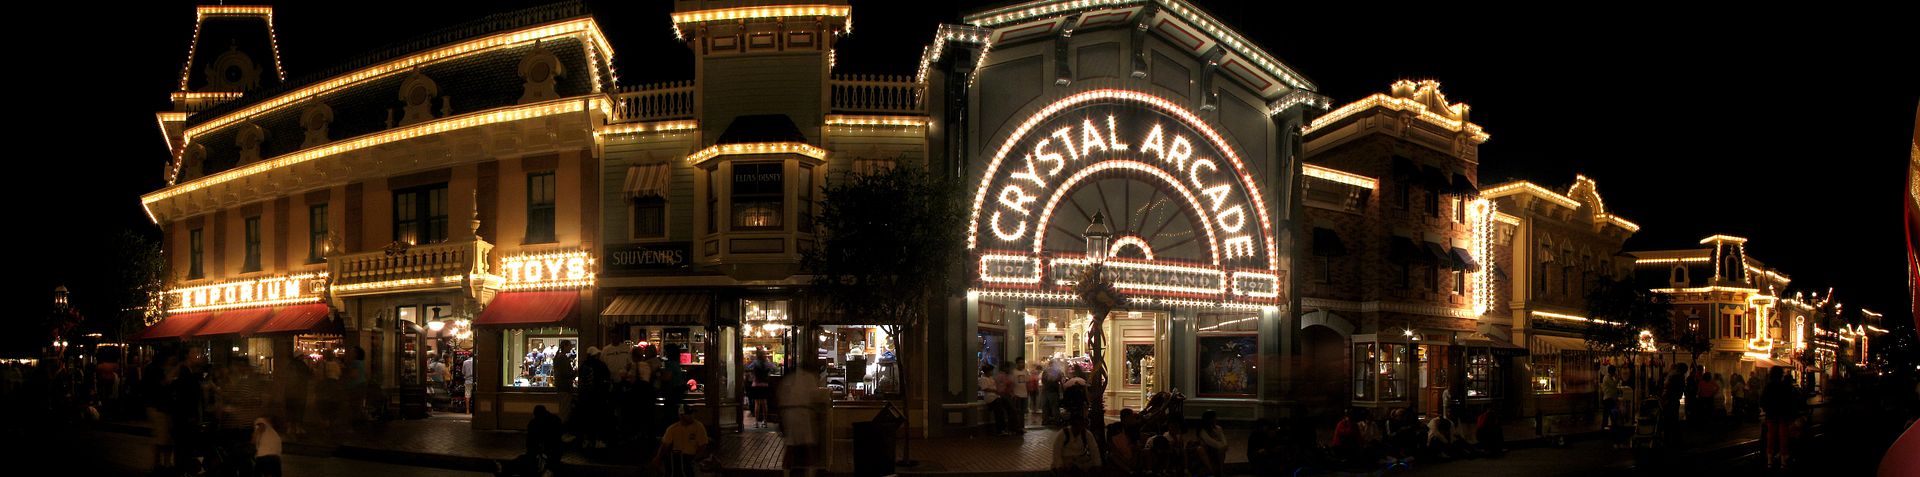
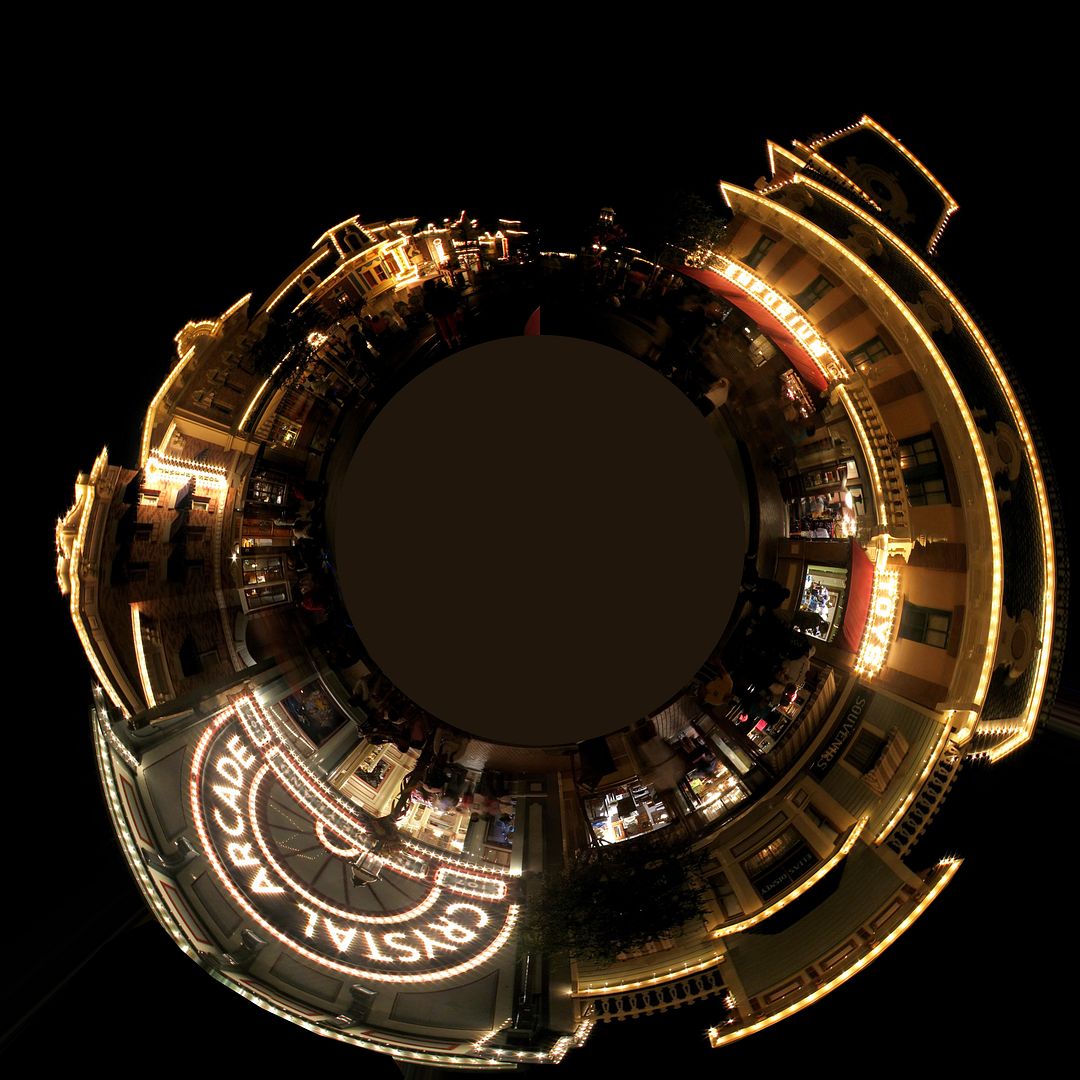
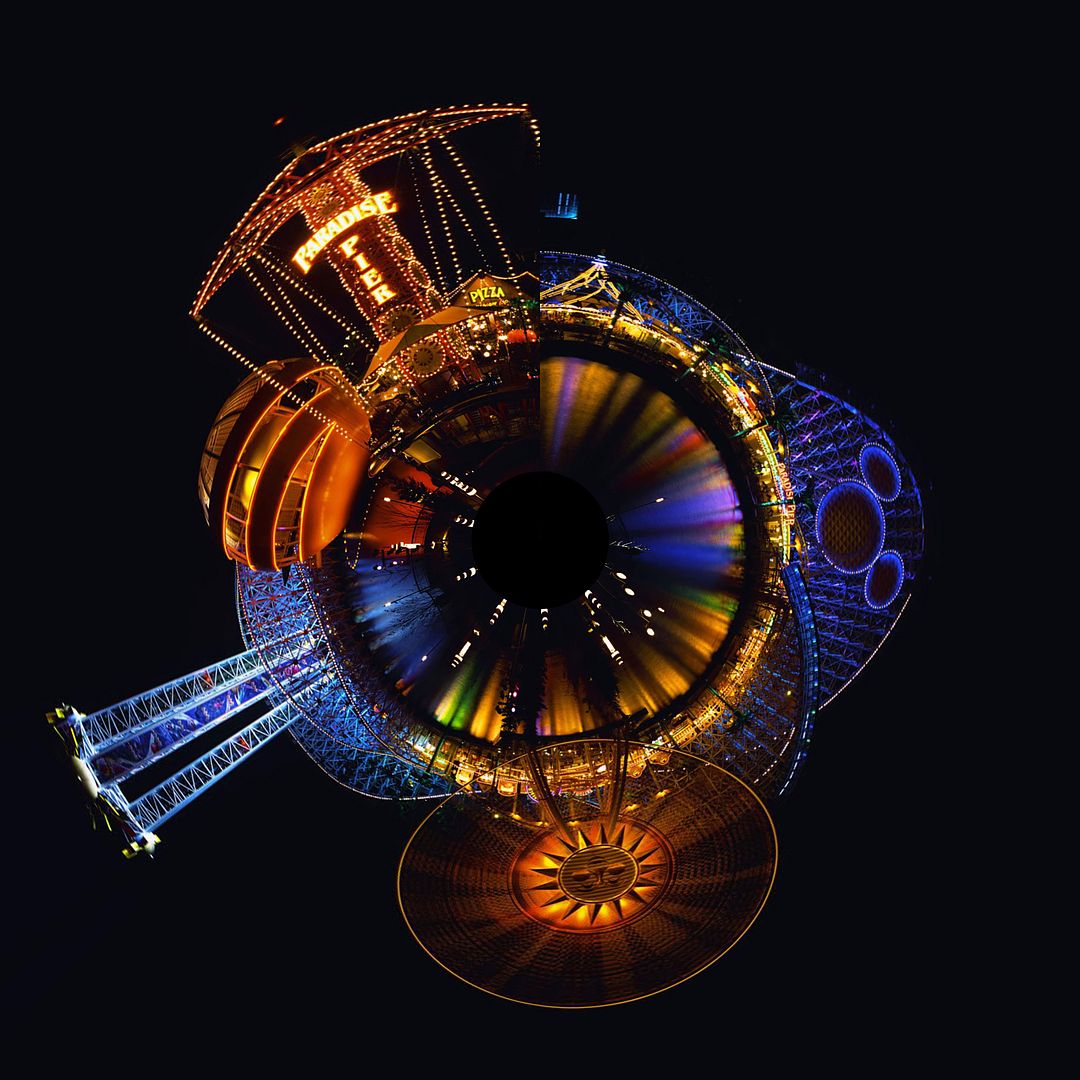
But you can also have great results with night panoramics, as you can see with this night picture of Disneyland's Main Street...
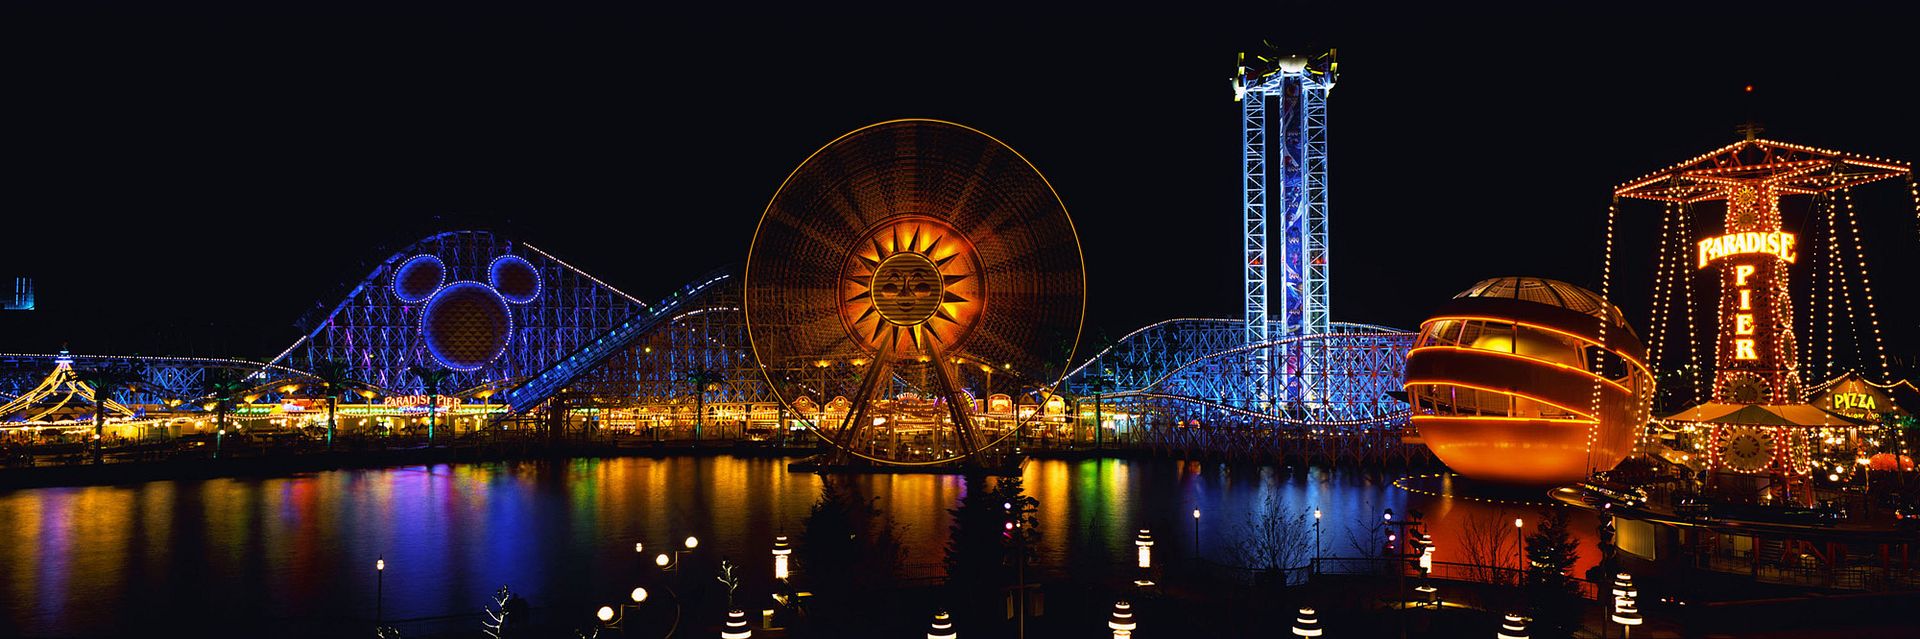
...or this official night shot of Paradise Pier.
As i'm sure you must be curious to know how works the "transformation" here is the tutorial and if it's not enough clear go on this link HERE where this tutorial is coming from:
1) Choose a panoramic picture, any one but if possible one which have on the top part of the image only "sky" - with no trees or decor "touching" the top of the image AND some ground or grass at teh bottom. Once you've found one, it's going to be very easy.
2) Open the picture with Photoshop (any Photoshop version from the first "CS") and resize the image to a square width size (for example: from 2000 x 650 to 2000 x 2000). To do this, go in the top menu to the "Image" menu then to "Image size".
3) Your original panoramic shot is now a square. Now, always in the "Image" menu, rotate the picture: choose "Rotate 180 degrees".
4) Step 4 is "Polaring": use the polar coordinates filter. Go to the "Filter" menu, then choose "Distort" then "Polar Coordinates", and select "Rectangular to polar".
If you're french: allez au menu "filtre" puis choisir "déformation" puis "coordonnées polaires".
That's it, you've created a Disney Planet!
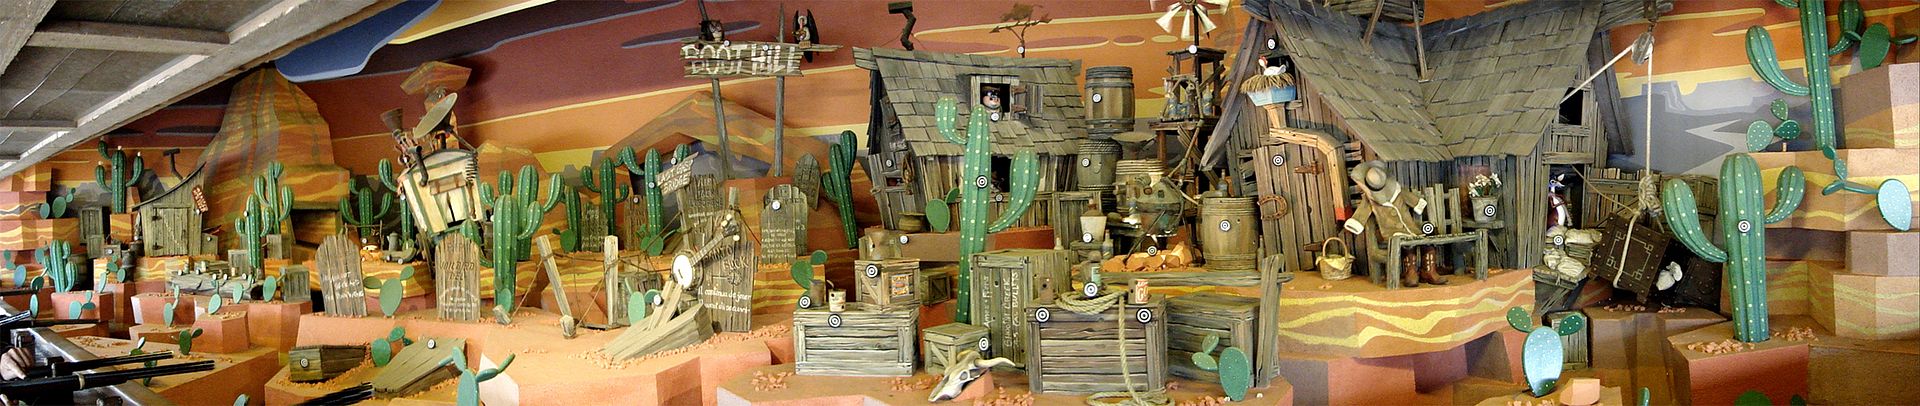
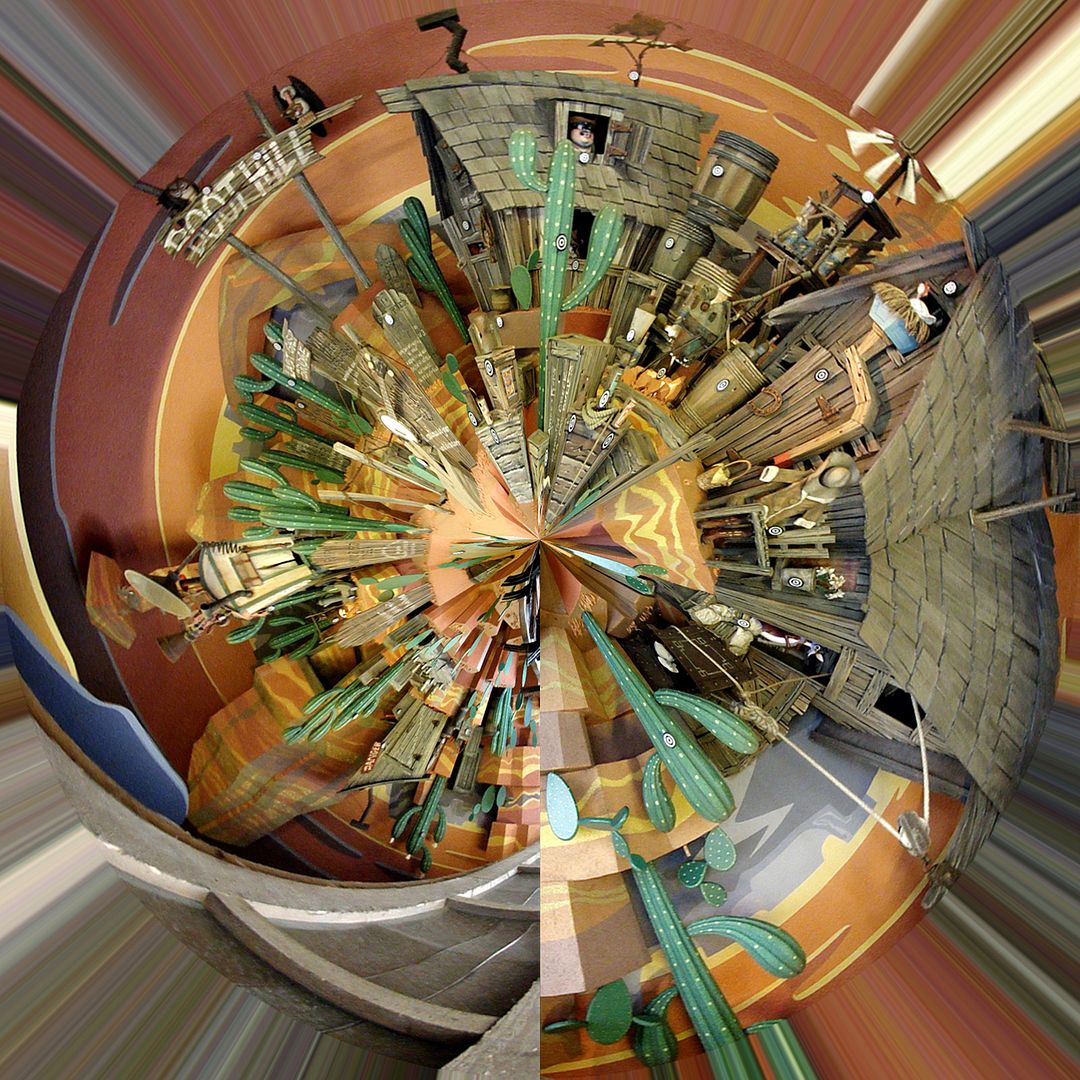
As i've told you the best is to have a panoramic with sky only all along the top of the image and some ground or grass at the bottom. If you don't you may have some strange effects at the end but sometime it can be "artistically" interesting. Examples with these three shots below. In this case it don't looks anymore like planets but the result is still fun. The first one is from a DLP Frontierland's shooting gallery panoramic.
This next one was done from a panoramic of Alice's Curious Labyrinth...


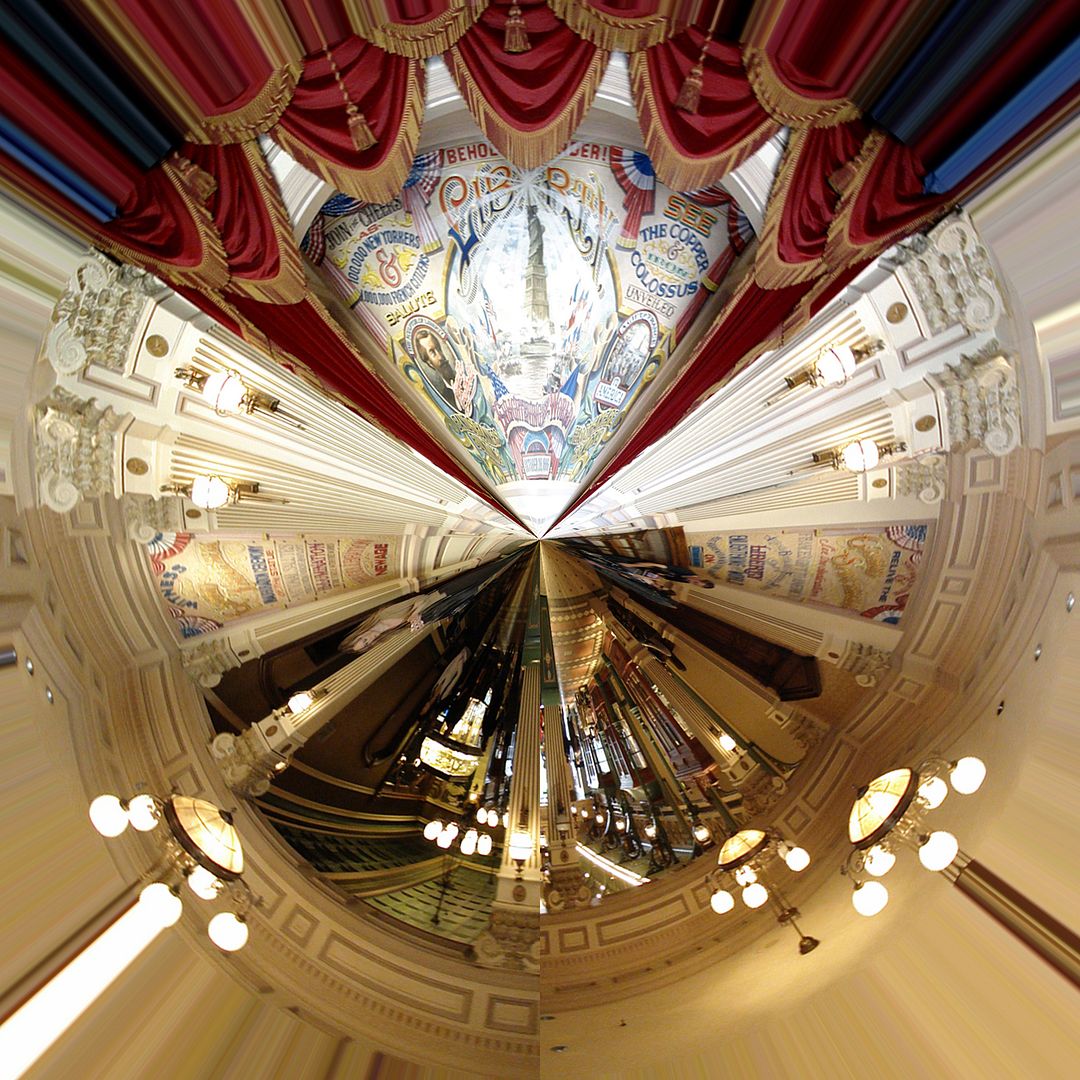
...and this last one from a panoramic of Main Street Liberty Arcade.

If you want to try by yourself and don't have any panoramic shot you can use some of mine previously posted HERE. Also, you can send to me - at: lawrence55@wanadoo.fr - the "planets" you will create and in the future i will do a special article with the creations of my D&M readers!
Pictures: copyright Alain Littaye, Rocket9, or Disney - All my thanks to Bernie of the disney.rocket9.net web site for his great Disneyland panoramic pictures.


No comments:
Post a Comment